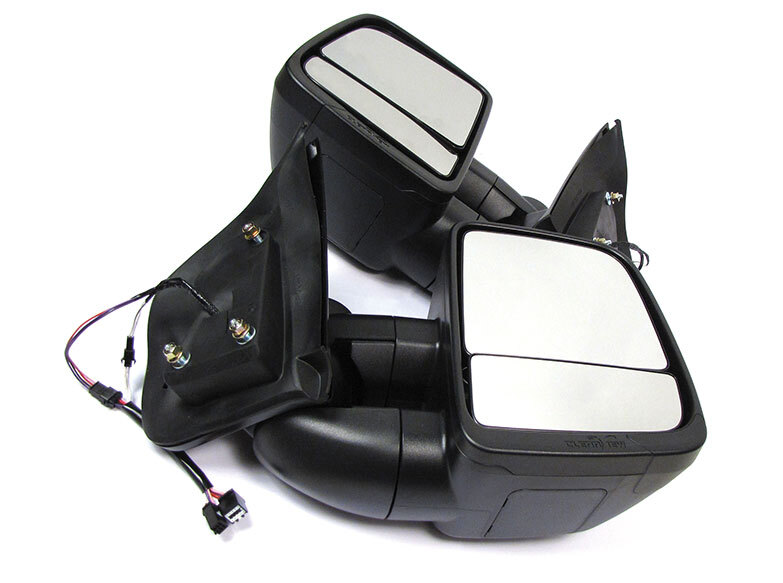
Items: CVNG-CG-CC-EB, CVNG-CG-CC-HEB And CVNG-CG-CC-HIEB
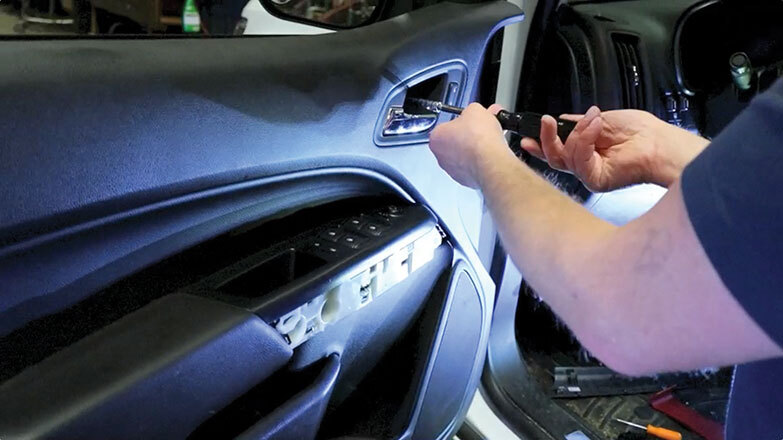
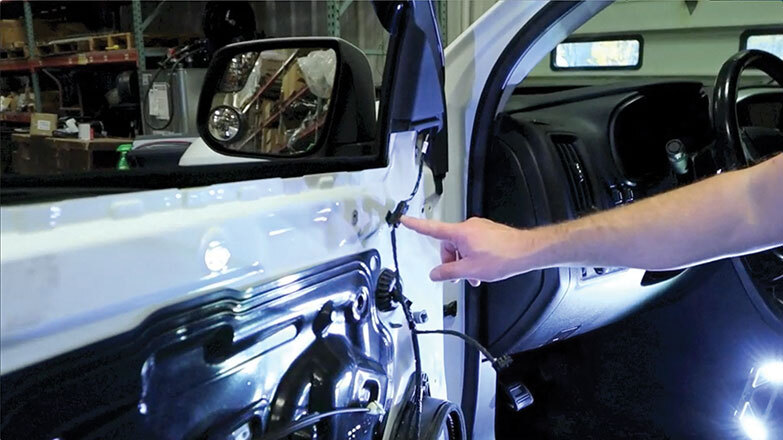
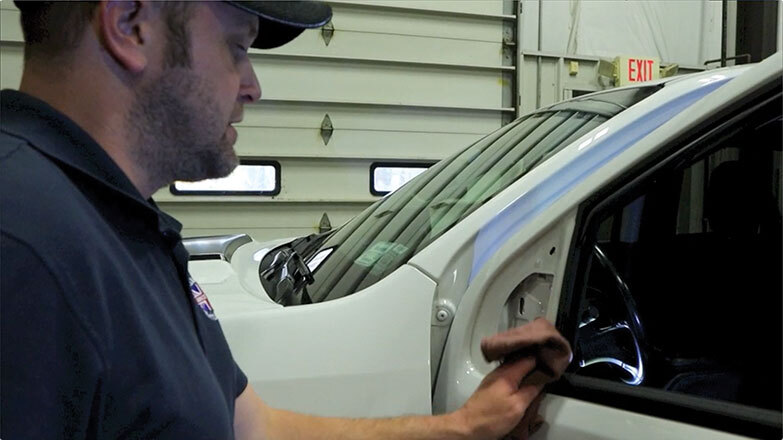
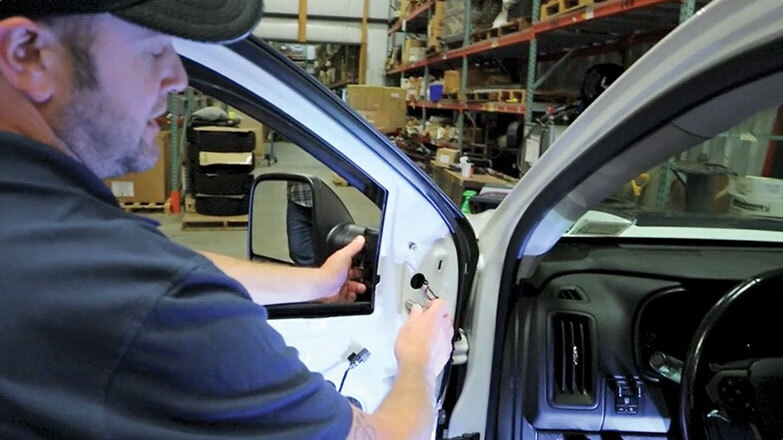
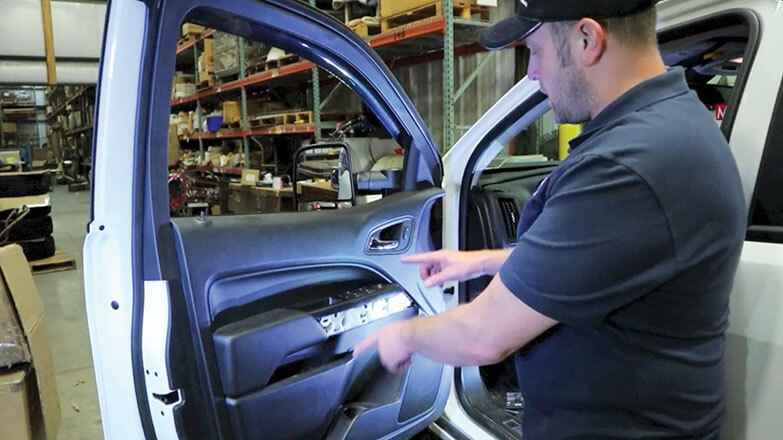
1. First the door panel must be removed to access the side mirror connector: Using a pocket screwdriver or pick tool, pry the cover as shown from behind the door handle.
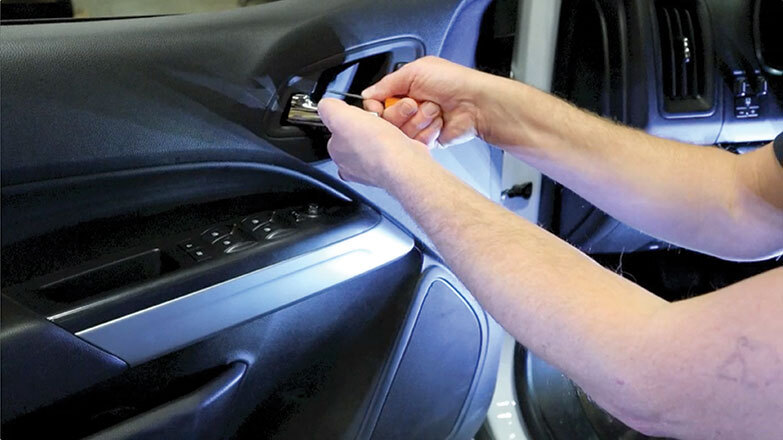
#1
2. Remove screw that is uncovered, with 7mm nut driver.
#2
3. Remove the trim on the door panel arm rest using a plastic trim panel removal tool.
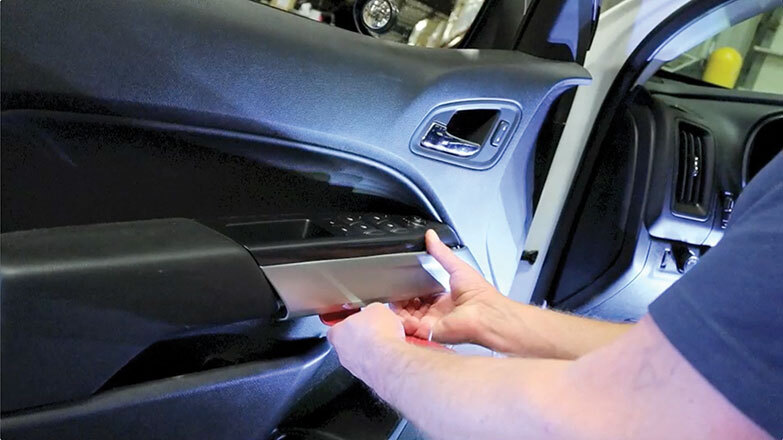
#3
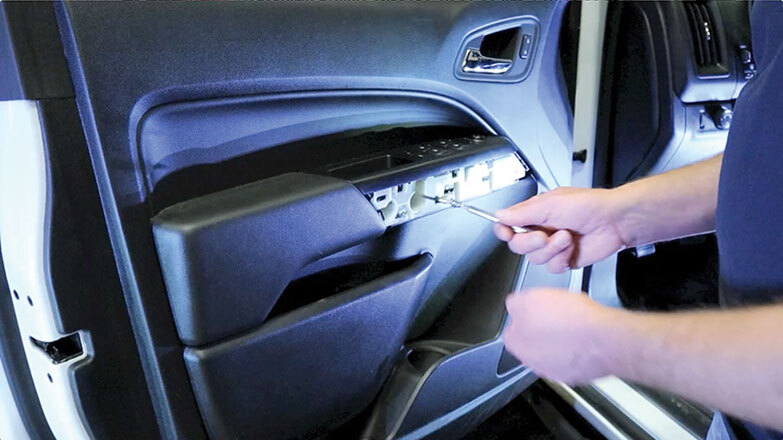
4. Loosen the 2 screws that are revealed behind the arm rest trim with 7mm nut driver.
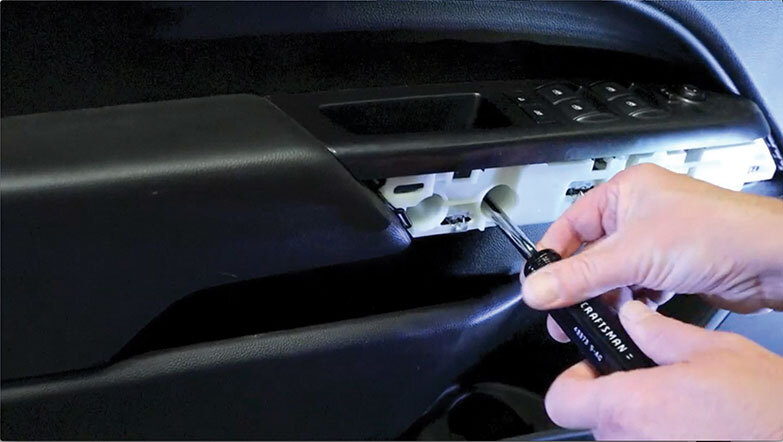
#4
5. Once the screws are fully loosened, use a magnet to retrieve them from the door panel recess.
#5
6. Remove the 2 screws at the bottom of the door, with 7mm nut driver.
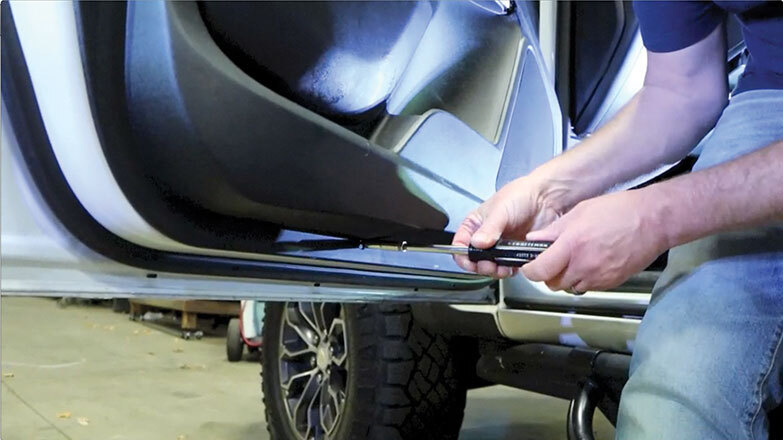
#6
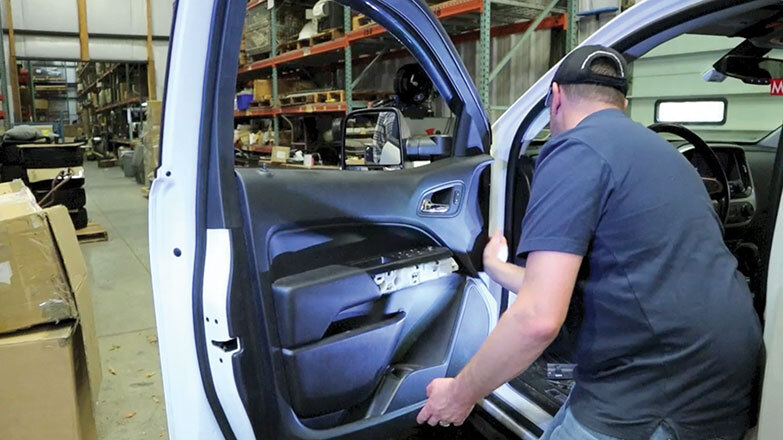
7. With the five screws removed, pop off the door panel, starting at the bottom, using trim removal tool, releasing the pop pins.
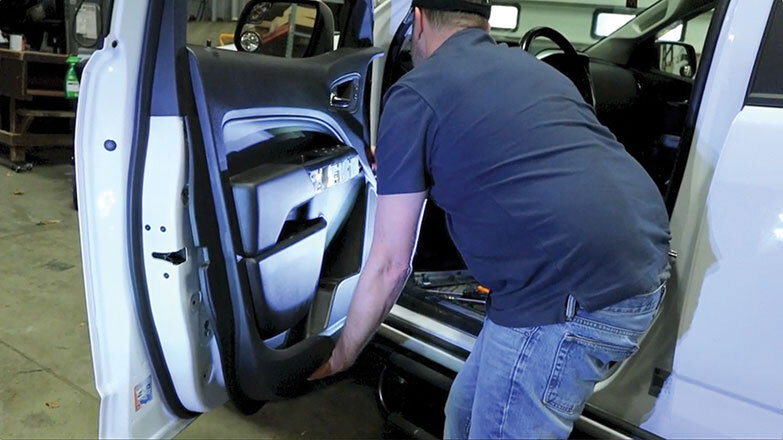
#7
8. Now with pop pins off, grab the door panel and pull off using a upward motion to get the trim strip up and out of the door.
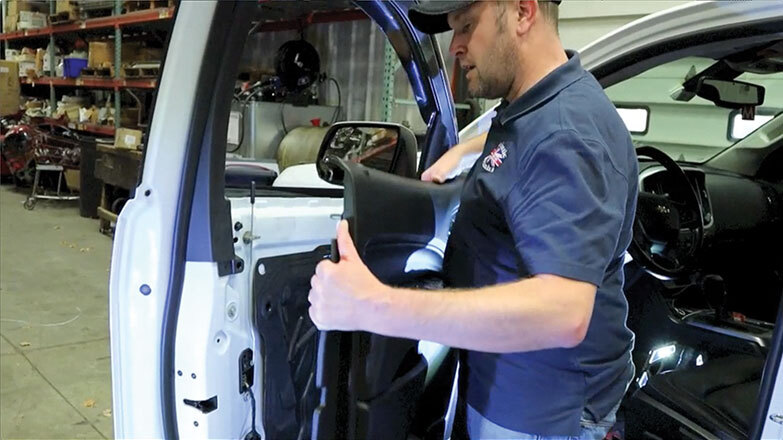
#8
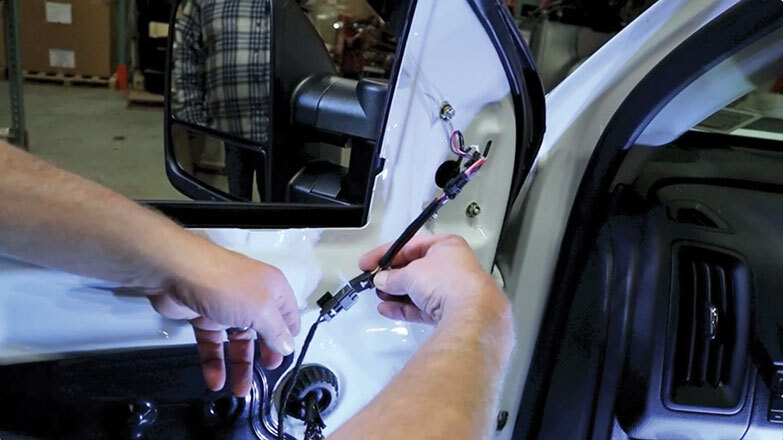
9. Disconnect the door handle connection wire, and take the time to detach the other 3 connecting wires. The wires have safety releases. Take a small flathead screwdriver and pull down the red tab, and the connections will pinch and pull out.
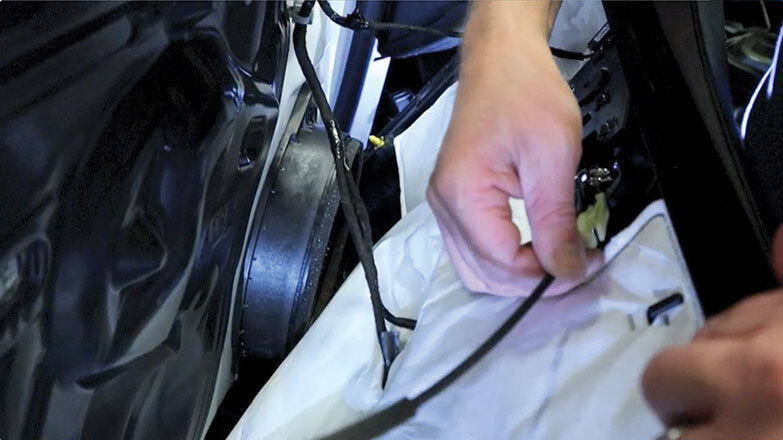
#9
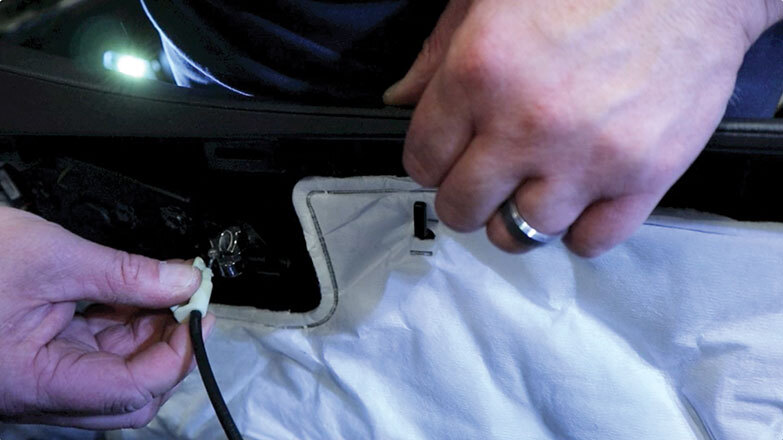
10. The door panel is now off exposing the connector to the side mirror. Disconnect the wire the same way you disconnected the other wires with the red safety tabs.
#10
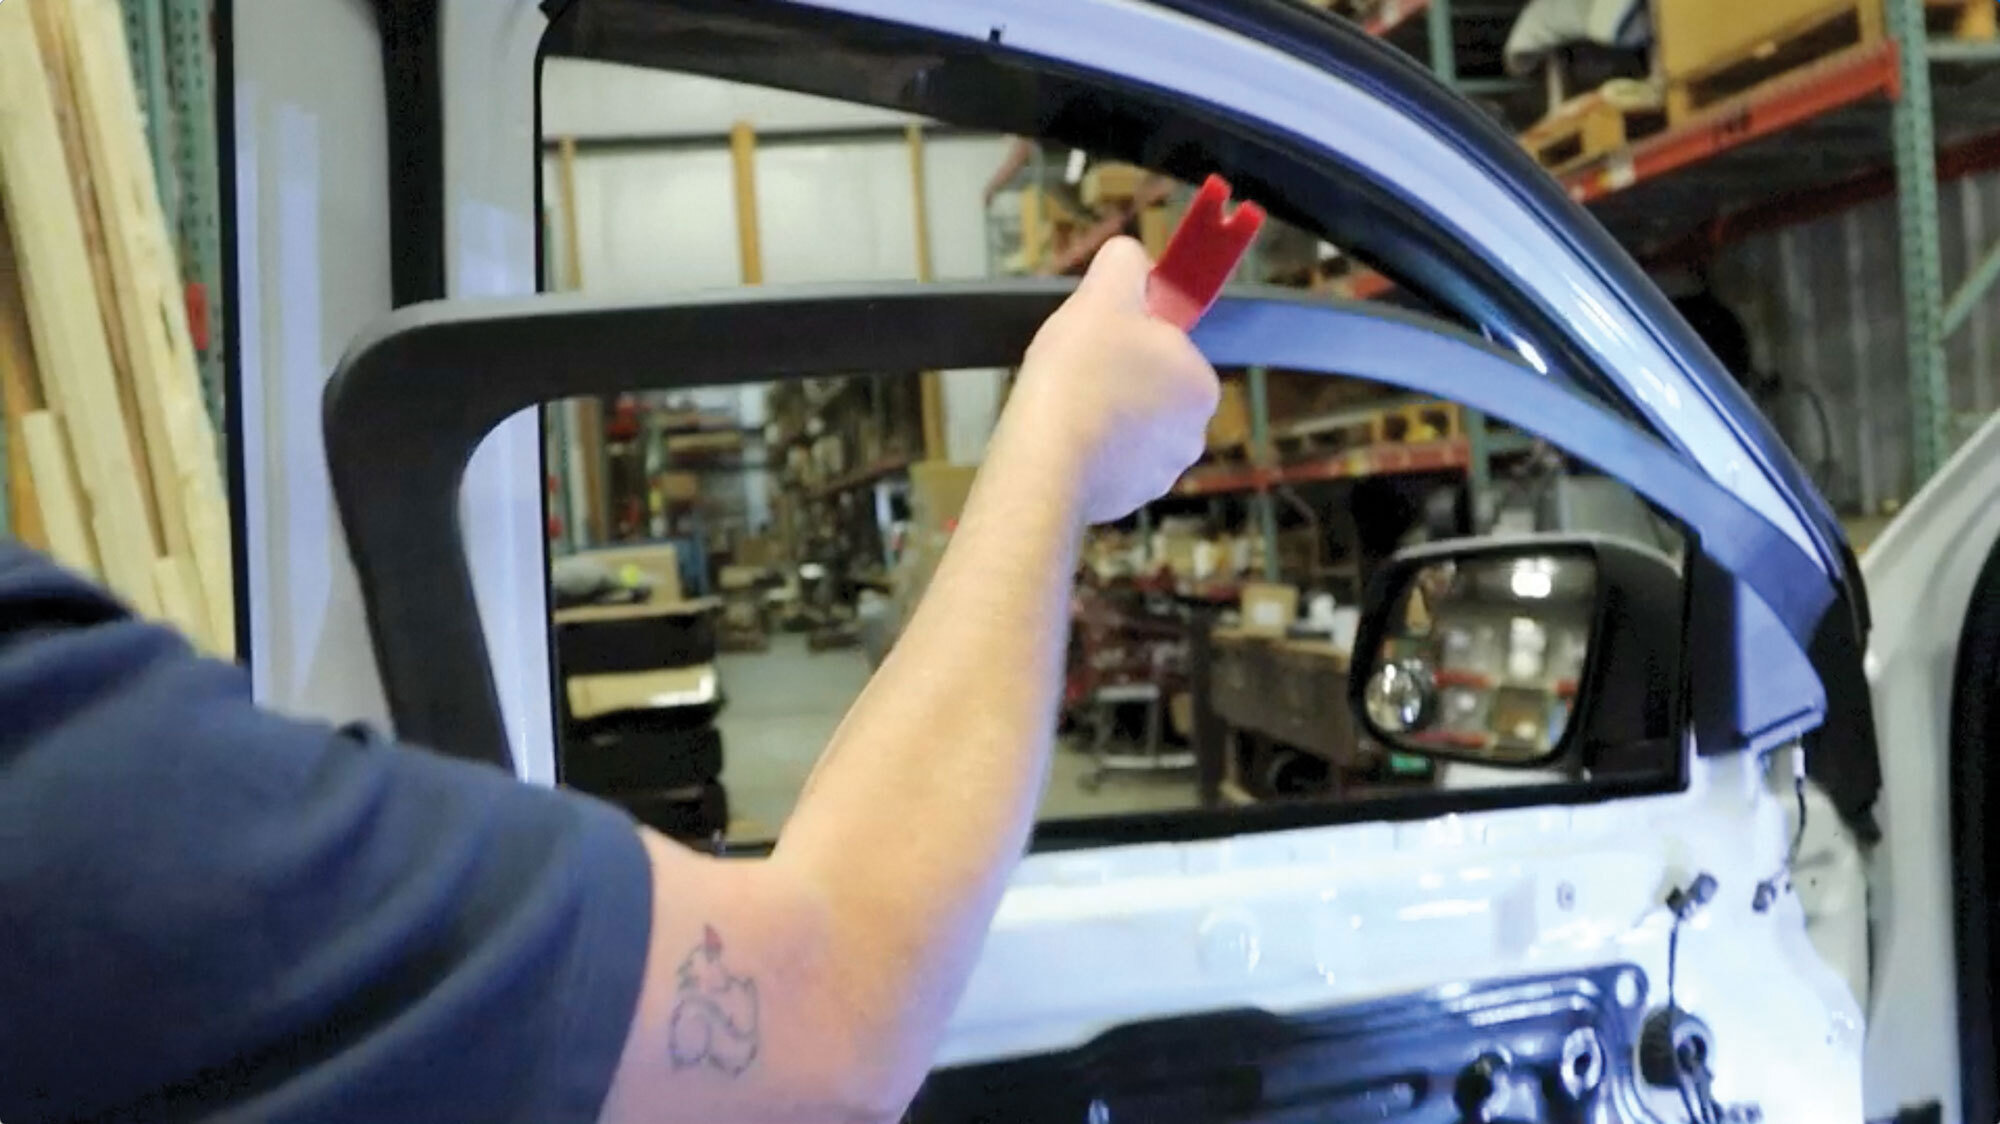
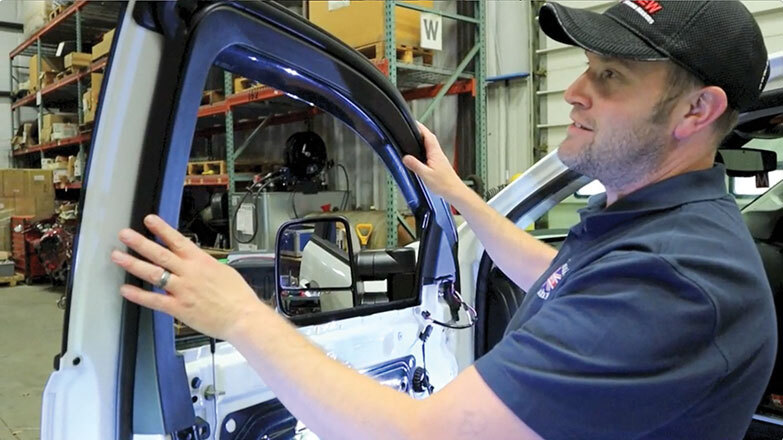
11. Peel off the upper door finishing trim with a trim removal tool.
#11
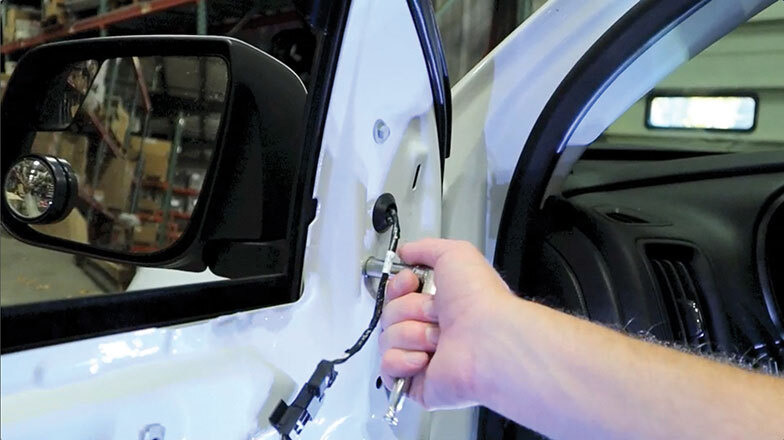
12. Loosen the three bolts holding the side mirror on.
#12
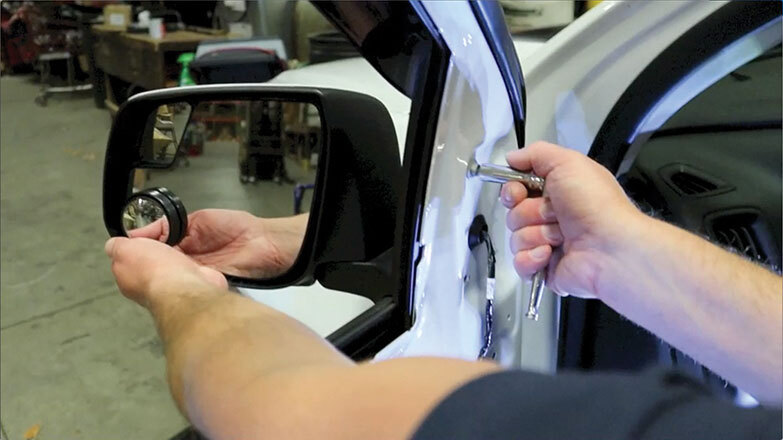
13. Run out the three bolts holding the mirror in place, taking caution to support the mirror, so not to drop it.
#13
14. Remove original mirror, snaking connector harness through the opening.
#14
15. Clean away dirt and grime from mounting surface.
#15
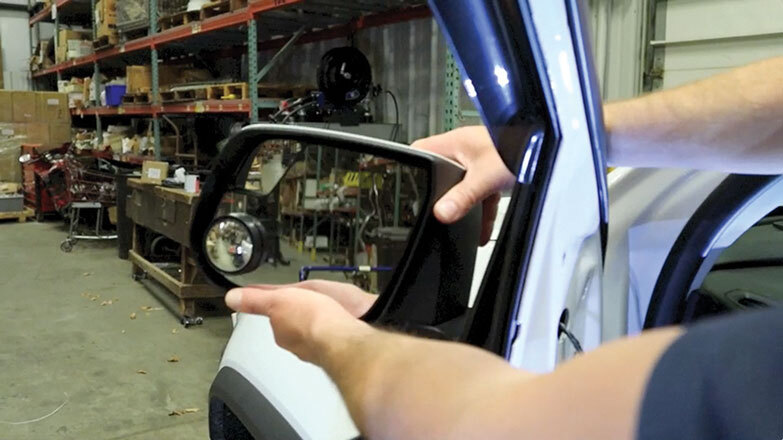
16. Before installing the new Clearview Next Gen Towing Mirror, make sure the rubber gasket is positioned correctly on the mirror bracket.
TECH TIP: After installation, if you experience excessive whistling or vibration while driving at higher speeds, it usually means you have a gap in your mirror gasket, and is misseated and will need adjustment.
#16
17. Position the towing mirror on the door, guiding connection wiring through opening, and lining up the bolts with the bolt holes.
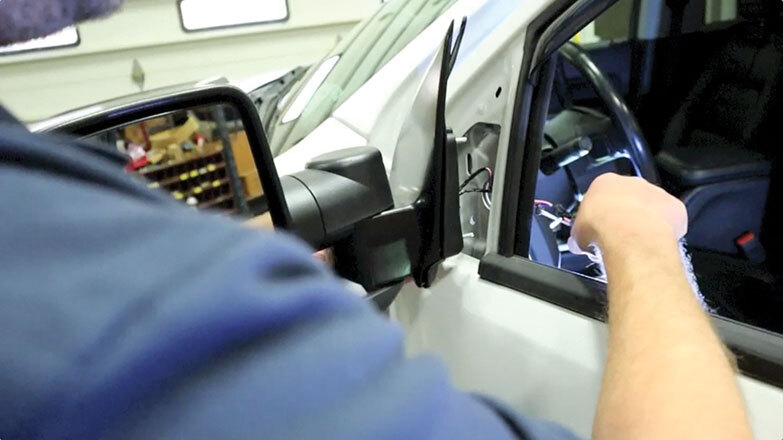
#17
18. Hand-tighten the nuts to the three bolts to hold the mirror. Secure the bolts with a rachet, applying a few turns to each in a equal pattern.
#18
19. Plug in the connector that pertains to your vehicle model. The mirror is now installed. Test the mirror for operation. There will be an extra connector that you will NOT use — just tuck it away when replacing the door panel.
#19
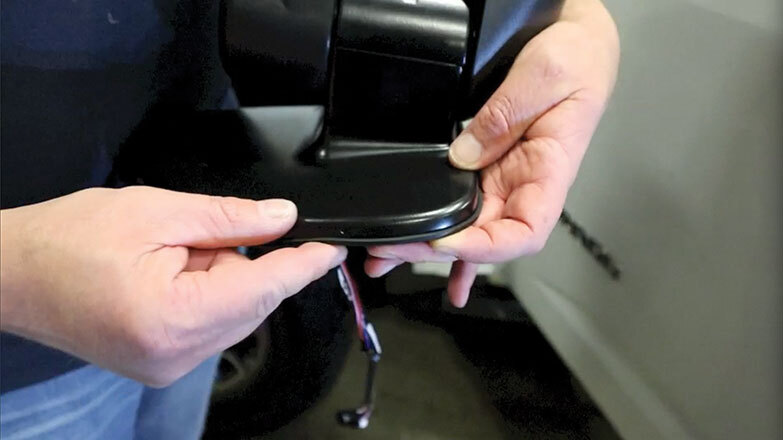
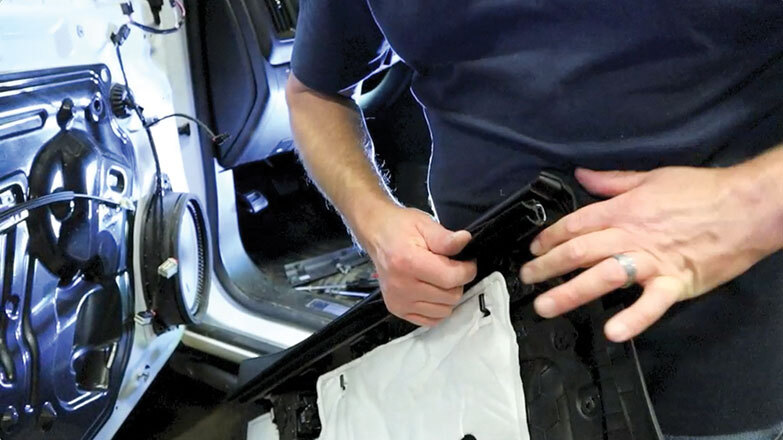
20. Replace top door trim. The lower edge of the trim fits up under the metal piece of the door frame. It should fit nicely around top weatherstripping. Then attach the push pins on either end.
#20
21. Reinstall the door panel. Start by sliding the weatherstripping off the top of the door panel. Remove the 5 clips across the top and insert into 5 slots of the door frame. Clip weatherstrip on, fuzzy side towards the window glass.
#21
22. Attach all the connecting wires on the door panel, including the door handle cable, and the three other plugs.
#22
23. Mount the door panel by hand and engage pin clips. Start from the top, by slipping door panel over door lock, and work your way around panel, pushing on the door panel where the pop pins insert, until the pin clips engage.
#23
24. Re-insert and tighten the 5 screws attaching the door panel. Add the trim panels and covers. Now use this process again to install the opposite mirror. Done!
#24
Atlantic British Ltd.
M-F, 8am-6pm Eastern
East Coast - Map
6 Enterprise Avenue
Clifton Park, NY 12065 - USA
ClearviewMirrorsUSA.com Is a Division of Atlantic British Ltd.
