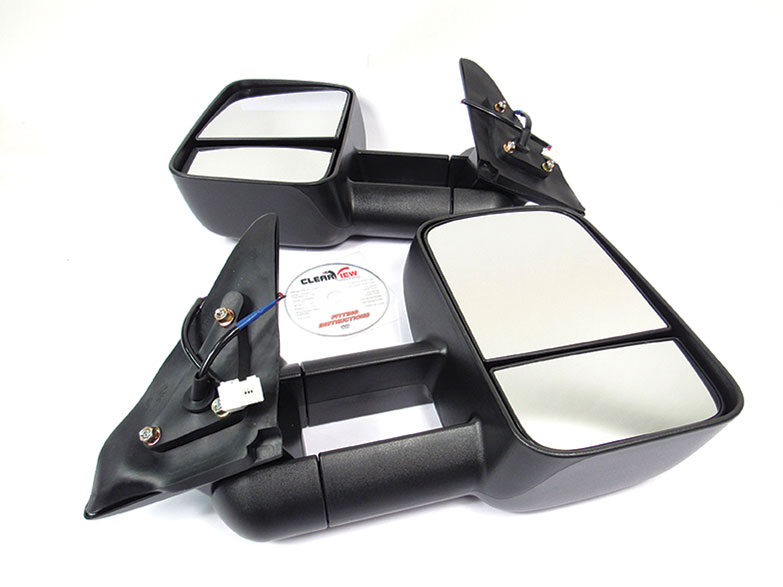
1. Gather the tools you will need to install the mirrors (See list above).
#1
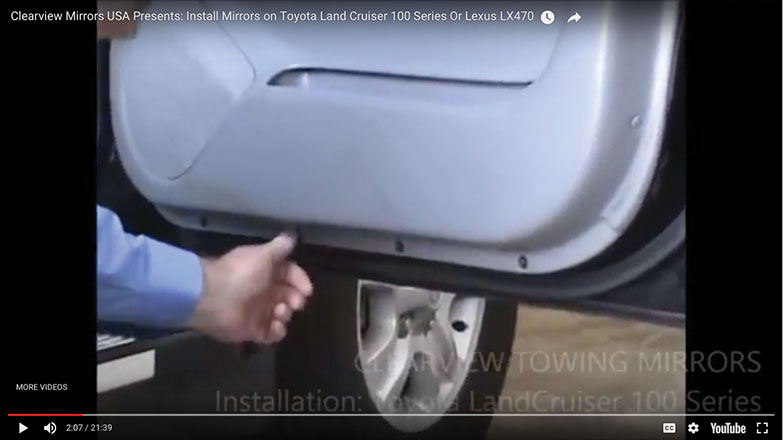
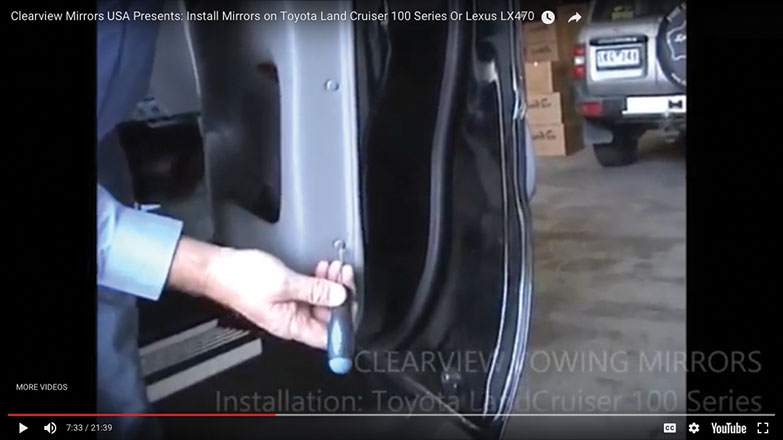
2. First the door panel must be removed to access the side mirror connector. Start by removing the 4 philips head screws at the bottom of the door panel.
#2
3. Pry off the 2 round plastic caps on the left of the door panel.
#3
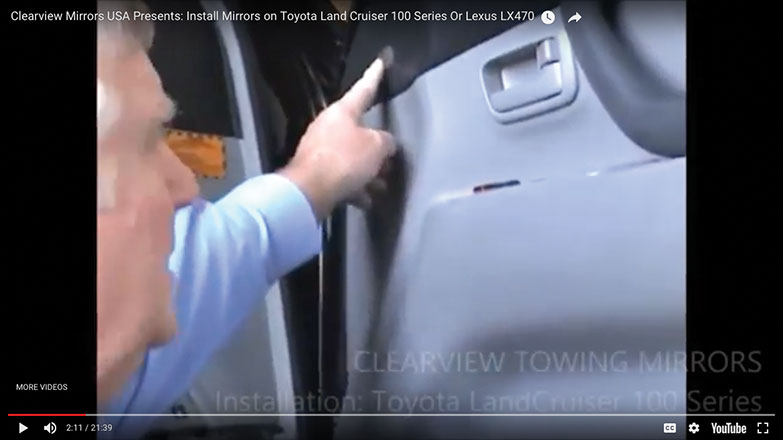
4. Peal off the cover behind the door handle trim, to reveal a philips head screw.

#4
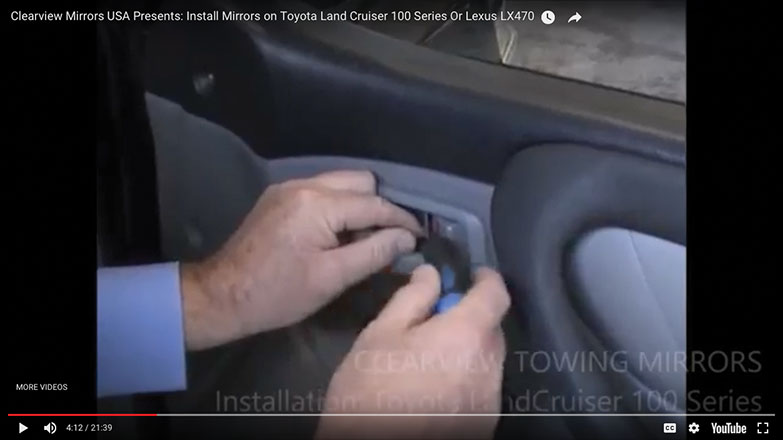
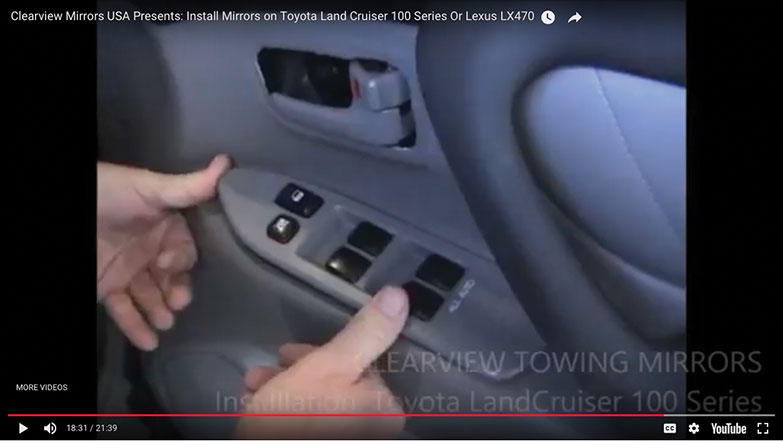
5. You will have to remove the electrical control panel, to reveal a philips head screw, in order to proceed to remove the door panel.
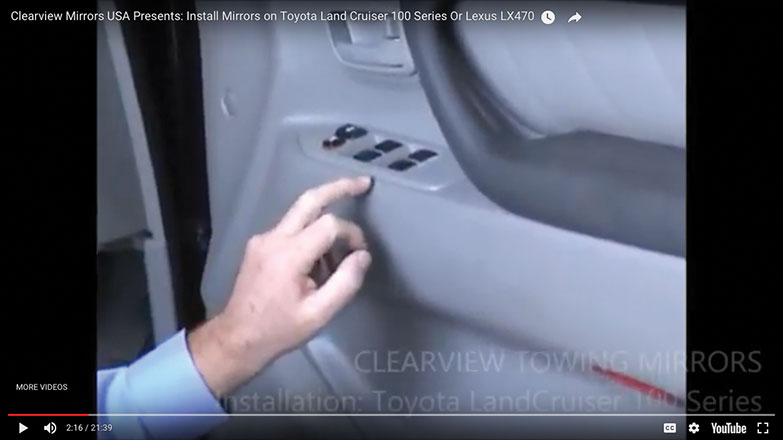
#5
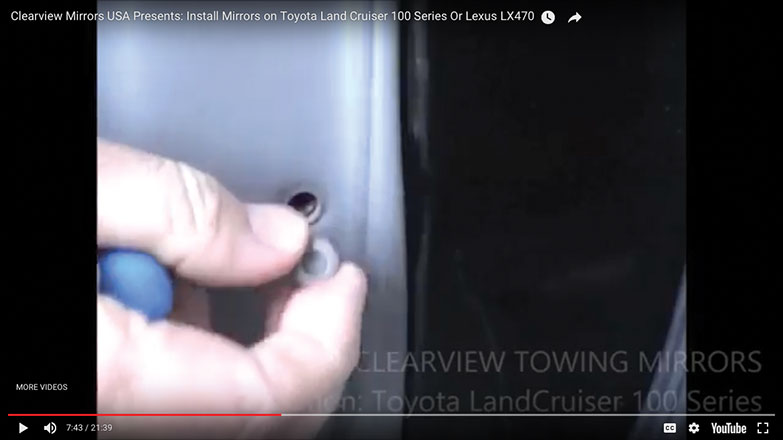
6. Remove the 2 round plastic cap covers on the left of the door panel, to reveal screws. Use a small screwdriver to pop off the caps.
#6
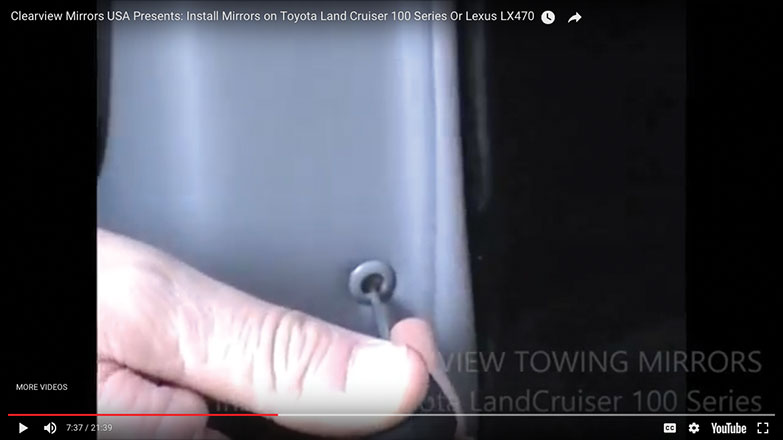
7. Gently pop off plastic cap taking caution to avoid damaging the leather and reveal screw on left of door.
#7
8. Unscrew both screws.
#8
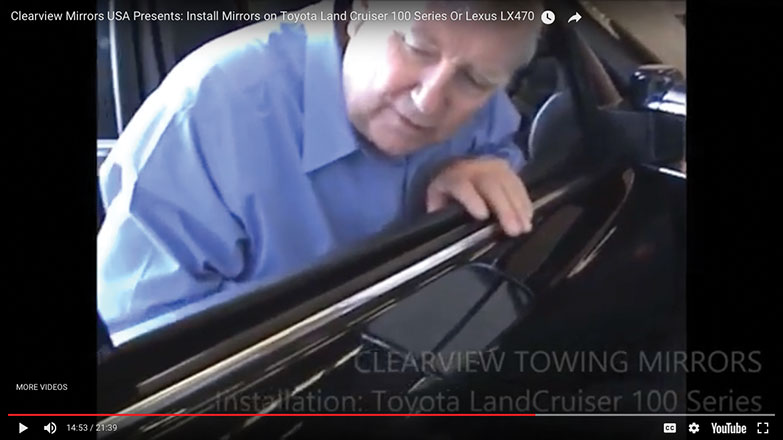
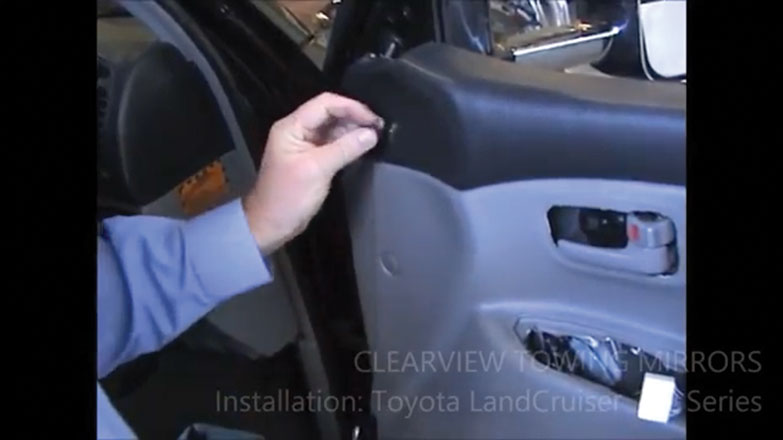
9. Apply a bit of pressure to pop off the trim for the mirror.
#9
10. Set aside cover trim.
#10
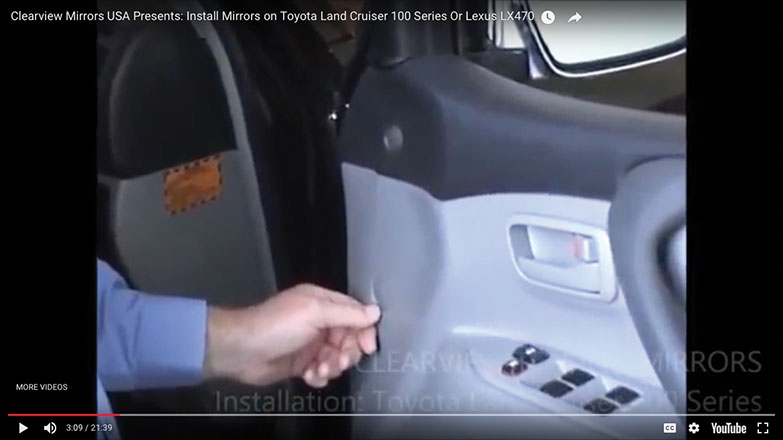
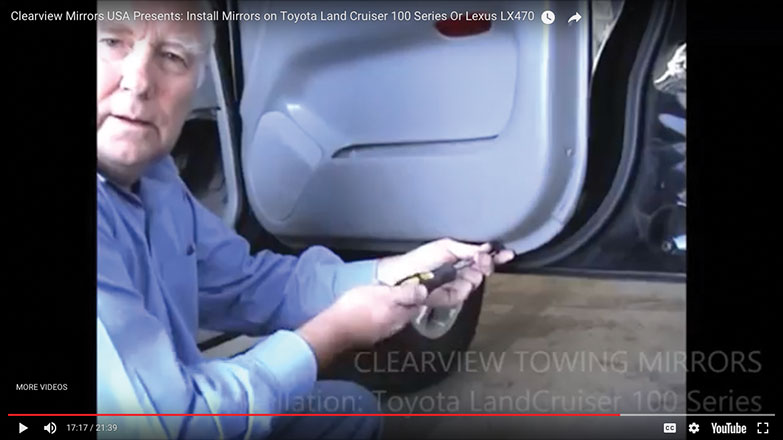
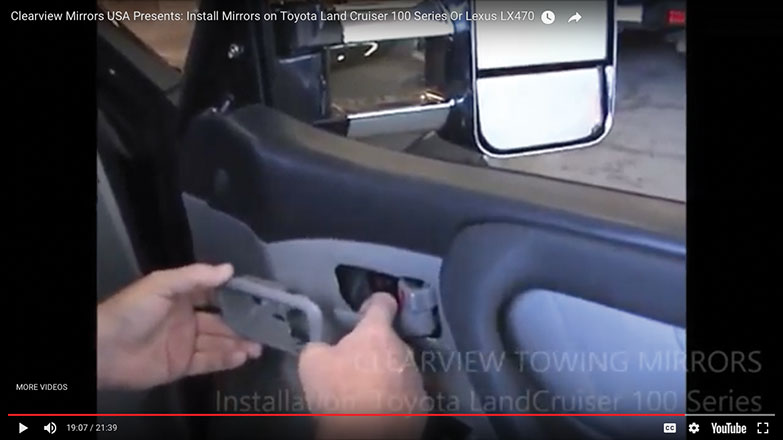
11. Pry off the panel cover behind door handle, holding the handle out.
#11
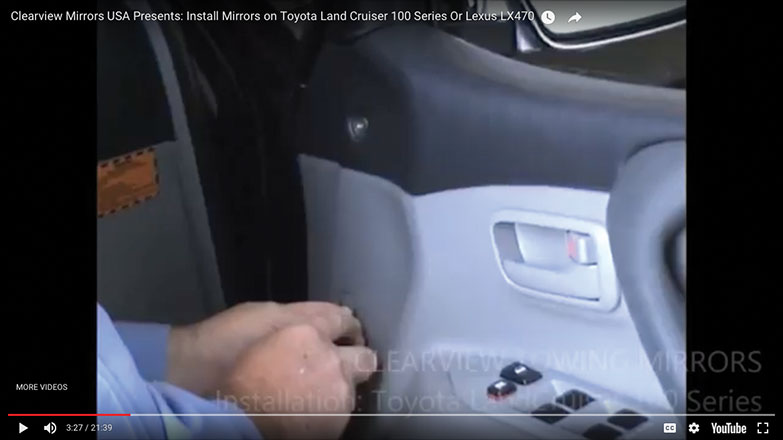
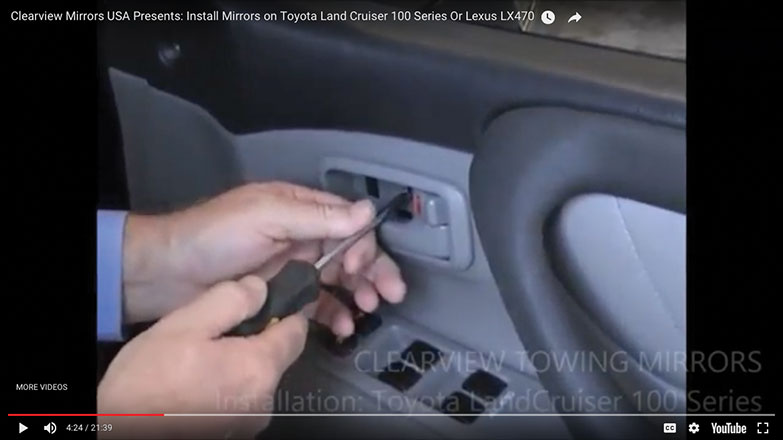
12. Use the small flat screwdriver to pry off the panel cover between the lock and the handle.
#12
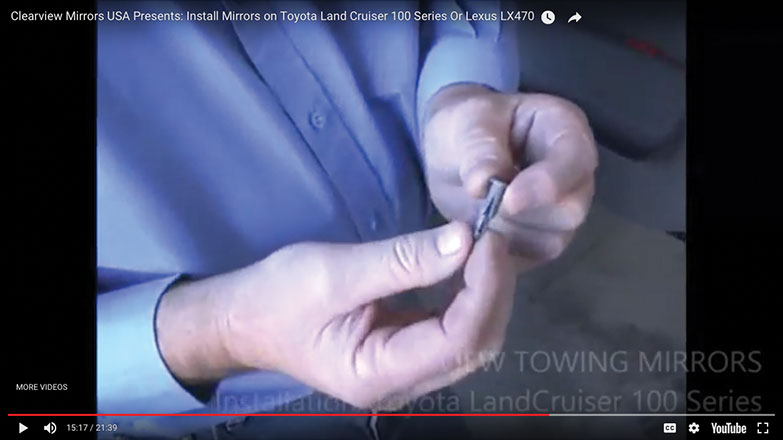
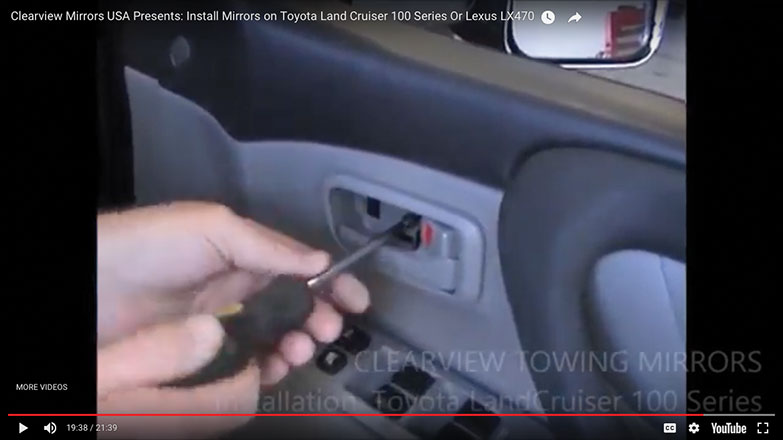
13. Remove the philips head screw that is revealed.
#13
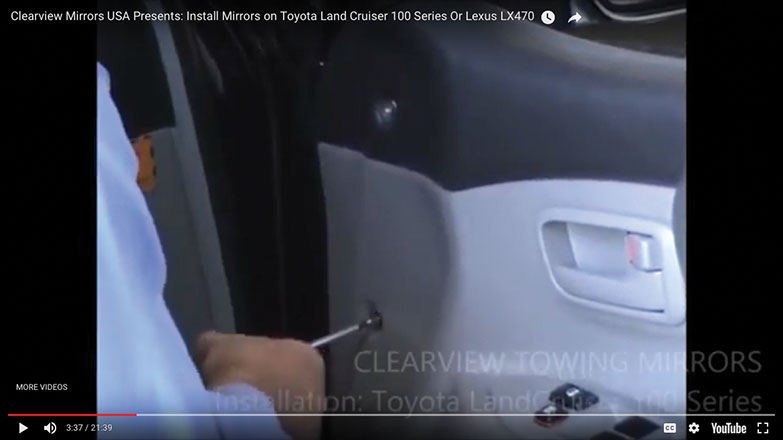
14. Pry off the trim around the door handle using a screwdriver by wedging the screwdriver into the space above the lock applying pressure to pop the trim out.
#14
15. Set aside trim removed.
#15
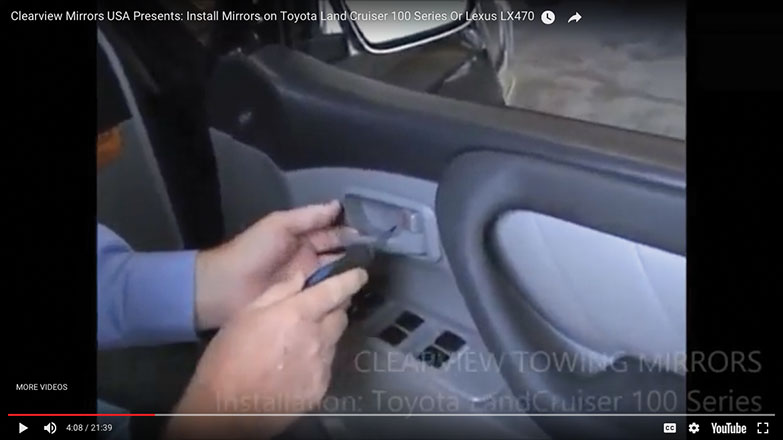
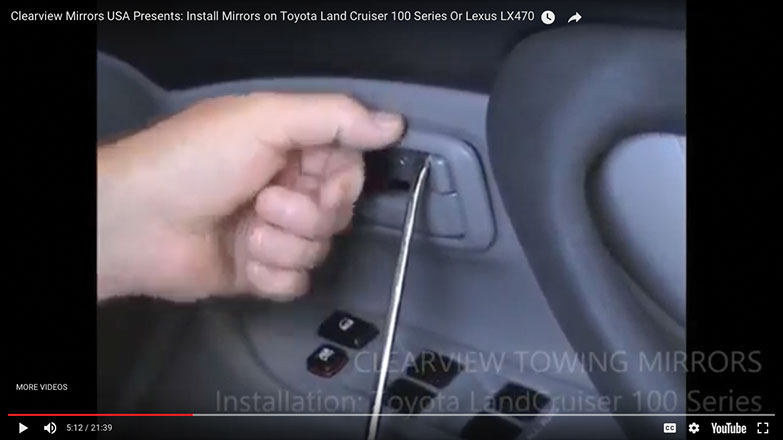
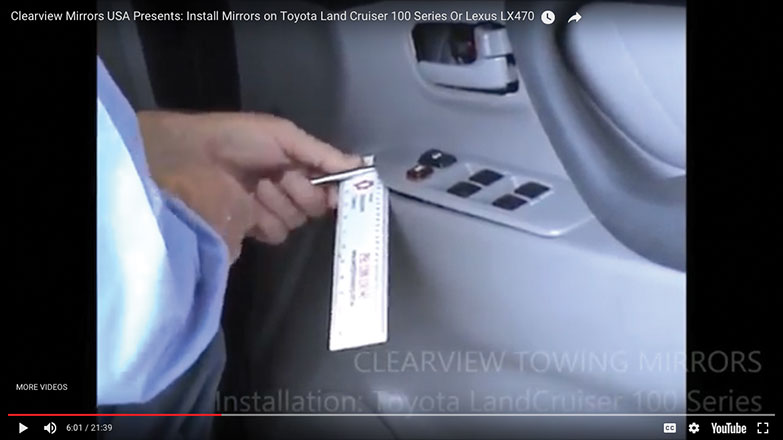
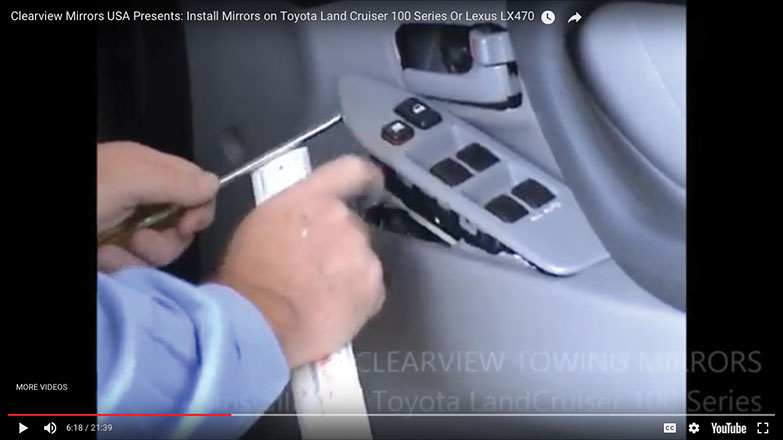
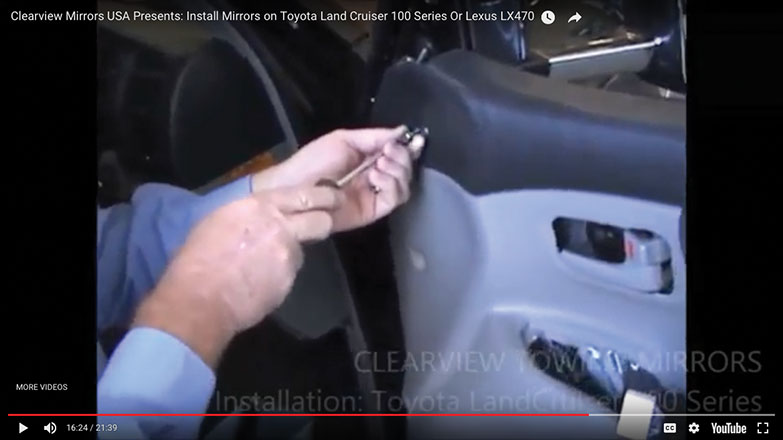
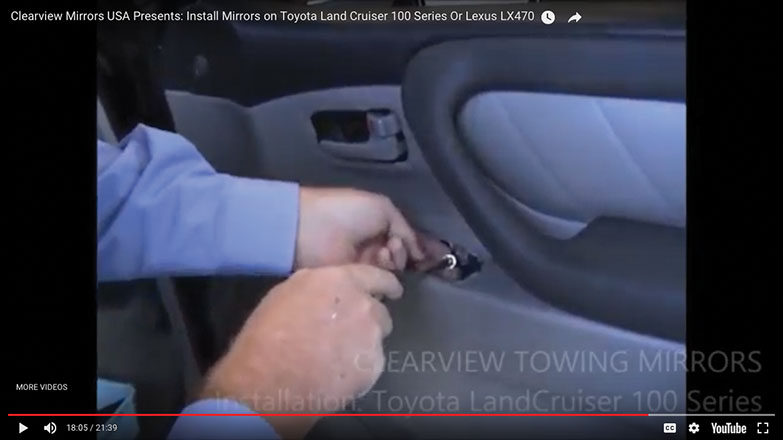
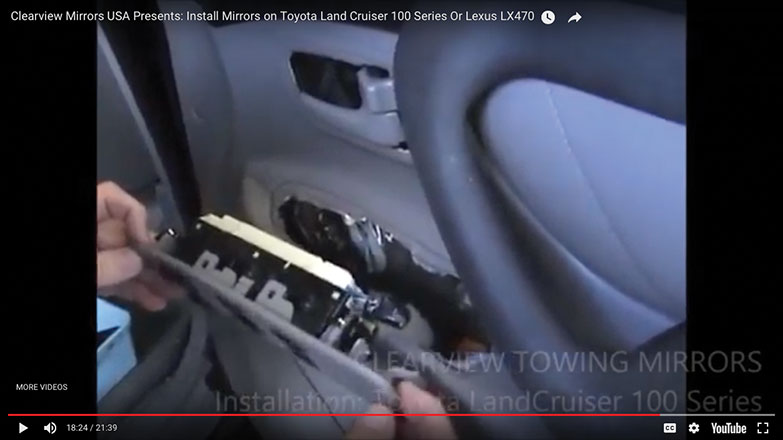
16. Use a plastic ruler, or similar trim removal tool, and screwdriver to pry off the door electrics control panel.
#16
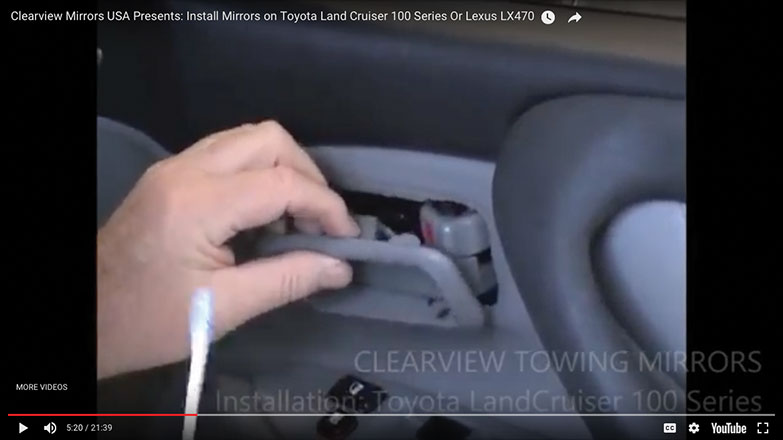
17. Apply some pressure to the screwdriver and the panel will pop right out.
#17
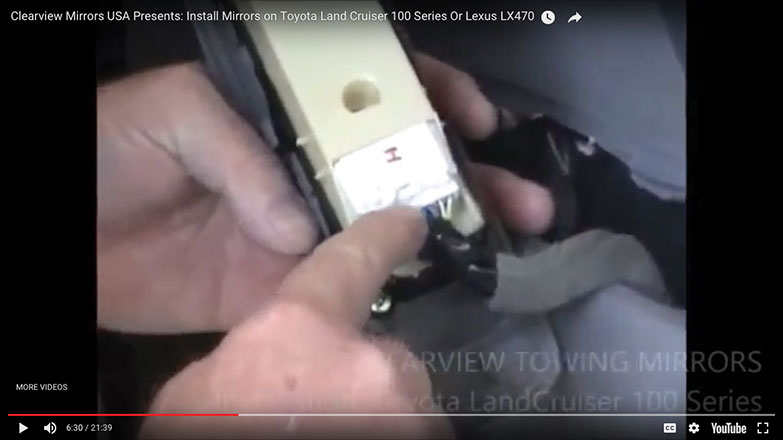
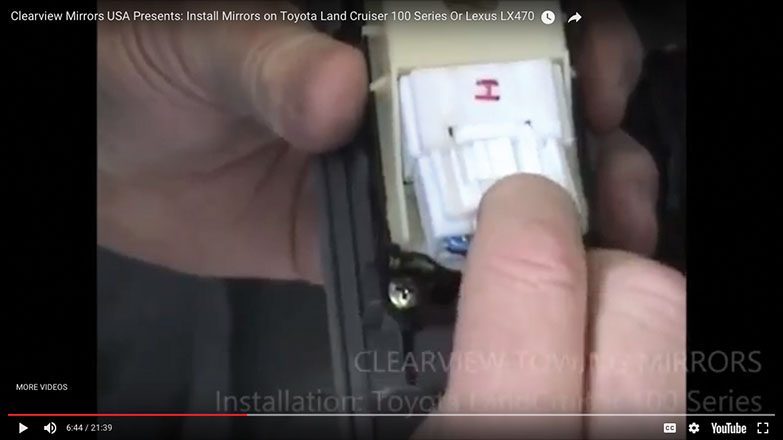
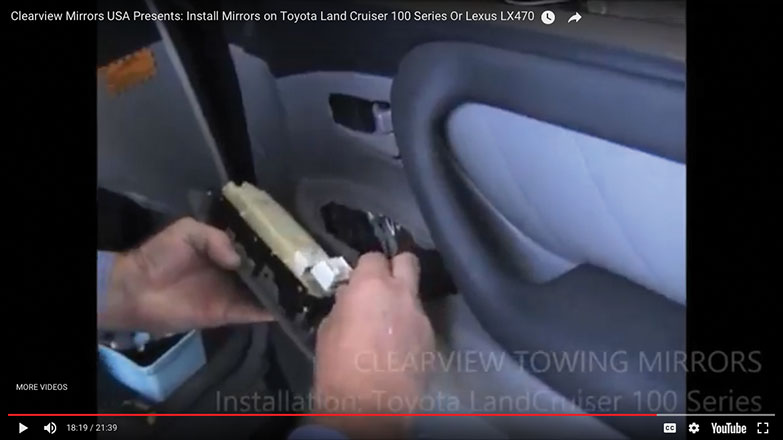
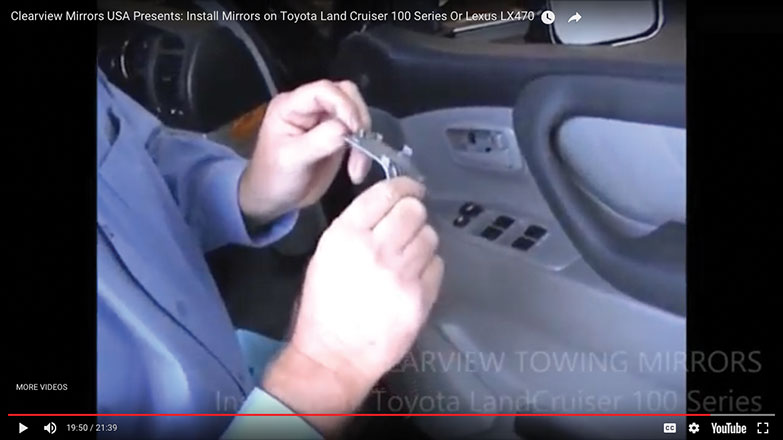
18. Disconnect the wiring by pushing the connector tab down while pulling away with the wires.
#18
19. Jiggle the connector to loosen and remove it.
#19
20. Tuck the connector out of the way.
#20
21. Now, the last screw to be removed is shown.
#21
22. Remove the 10mm philips head screw. Note: This 10mm screw should be put aside and returned here first when re-assembling.
#22
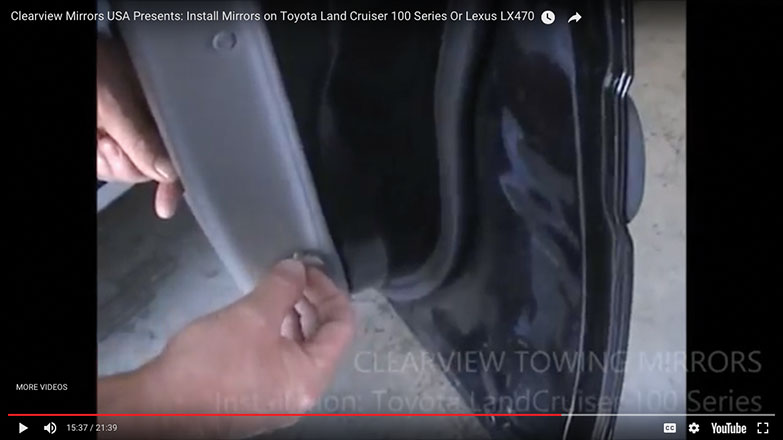
23. Now locate the two plastic pins to the right outer section of the door panel. There is also one more plastic pin that sits to the left inner side of the door panel.
#23
24. Push into the middle of the plastic pin to release.
#24
25. Grip with a fingernail and pop out and remove, and set aside all 3.
#25
26. Now the door panel may be removed by pulling it out, gripping the door handle, and giving it a tap upward on the out edge. Set aside the door panel.

#26
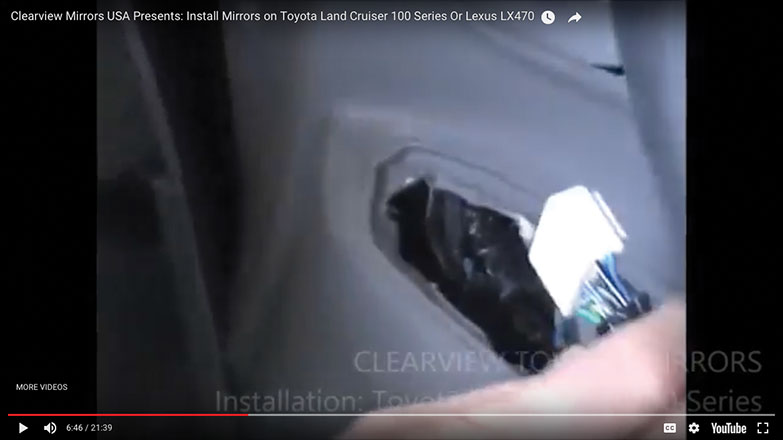
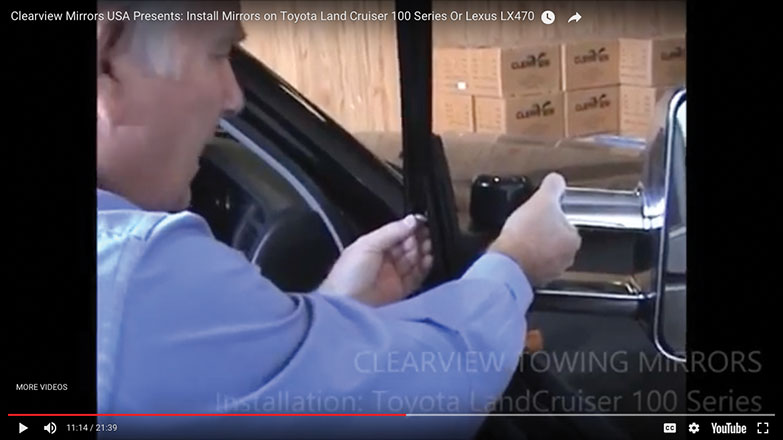
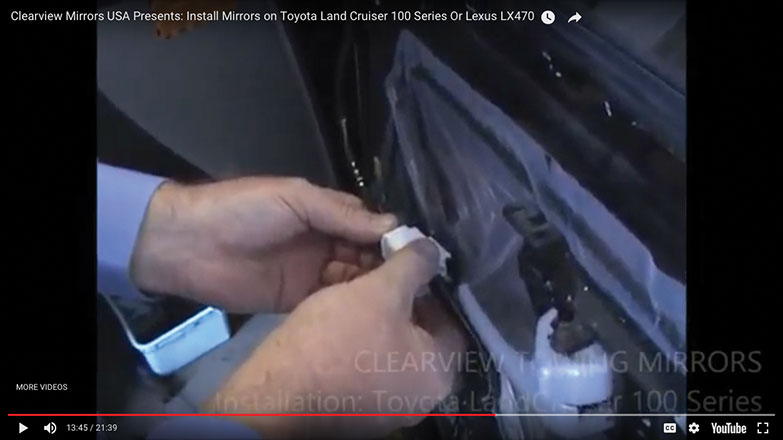
27. With the door panel off, it is time to remove the electrical wiring from the old mirror.
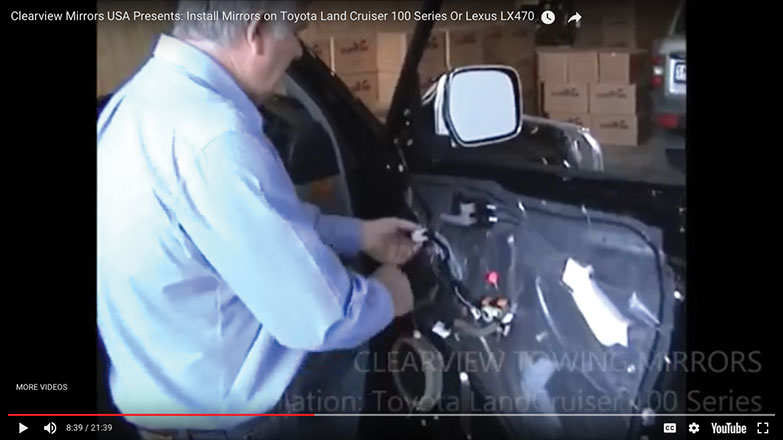
#27
28. Push the connector tab down and away from the plastic plug.
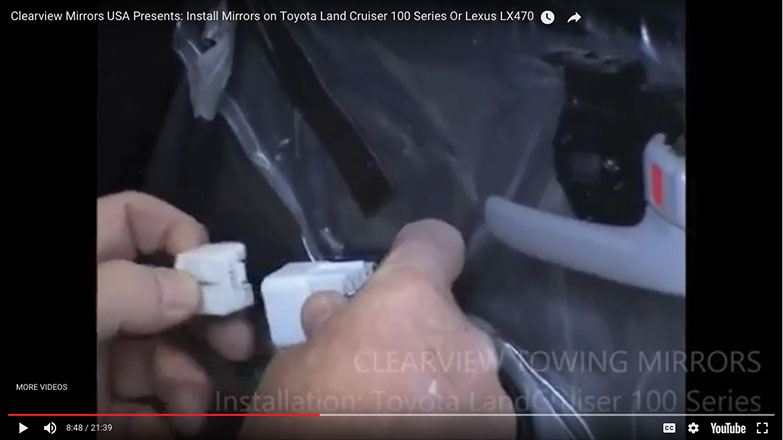
#28
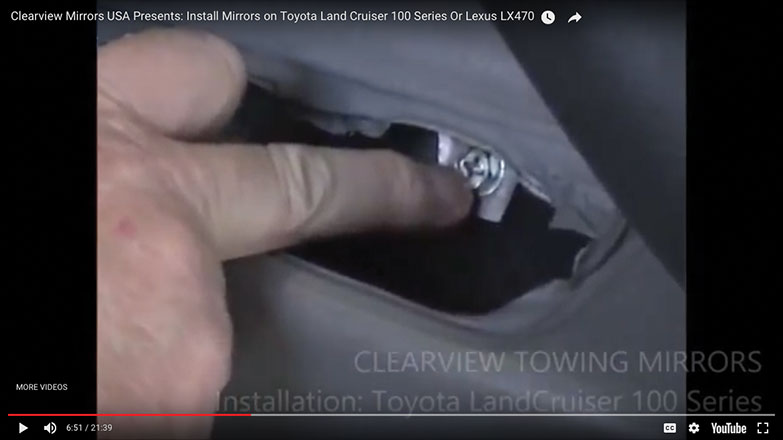
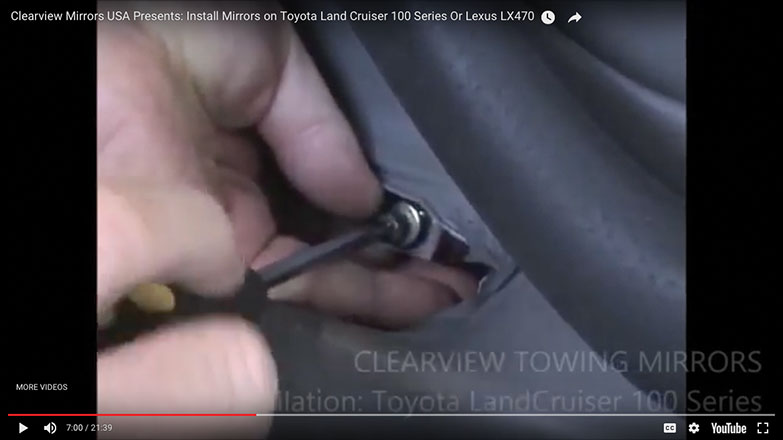
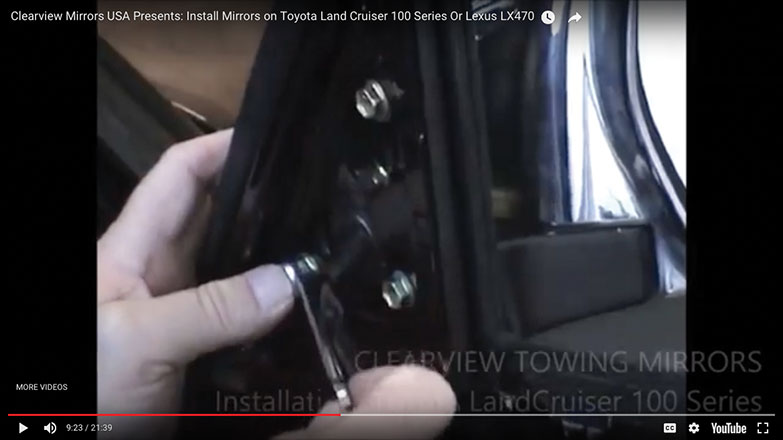
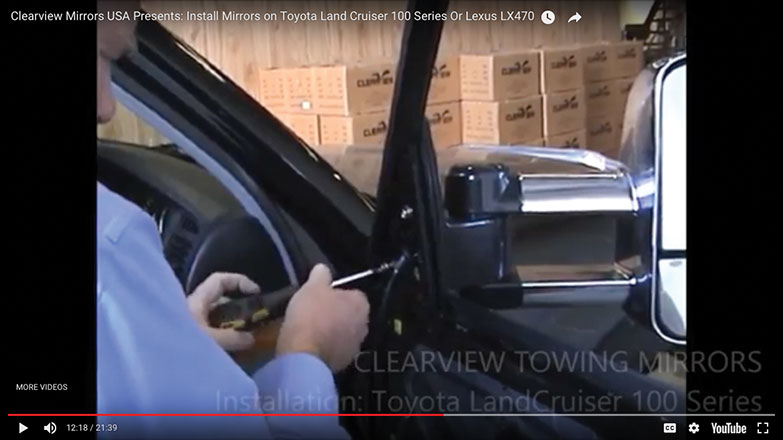
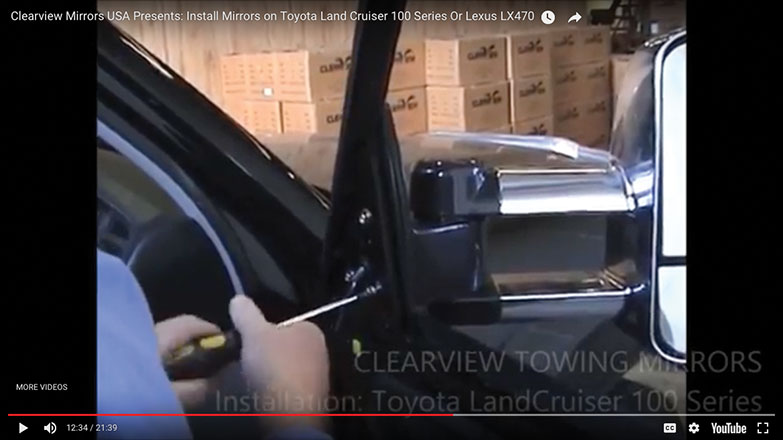
29. Loosen the mirror bolts next.
#29
30. Then, unscrew using the 10mm socket to remove. Remove the 2 bottom bolts first, then the top bolt.
#30
31. You will notice a screw that holds the mirror, you can leave that screw as is.

#31
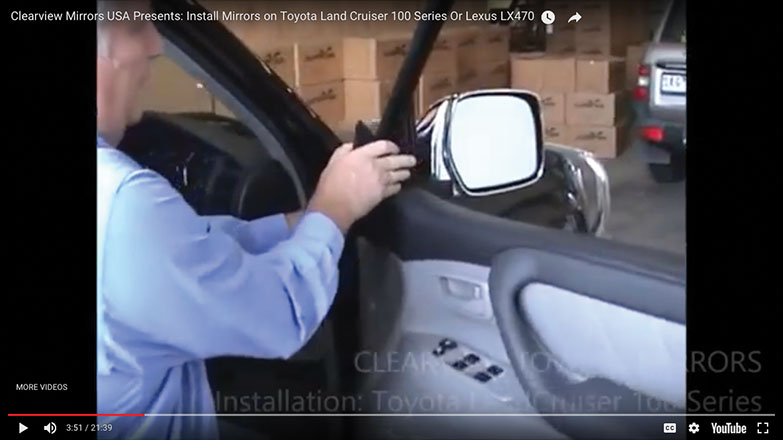
32. Break the grip of the old mirror, the screw away from the slot, and slip mirror out.
#32
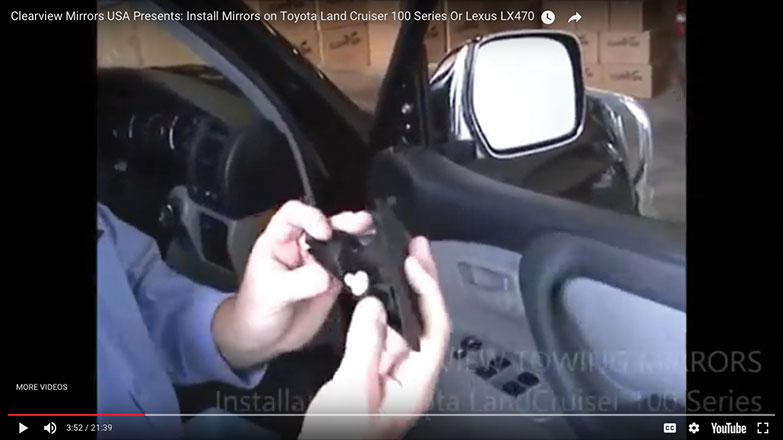
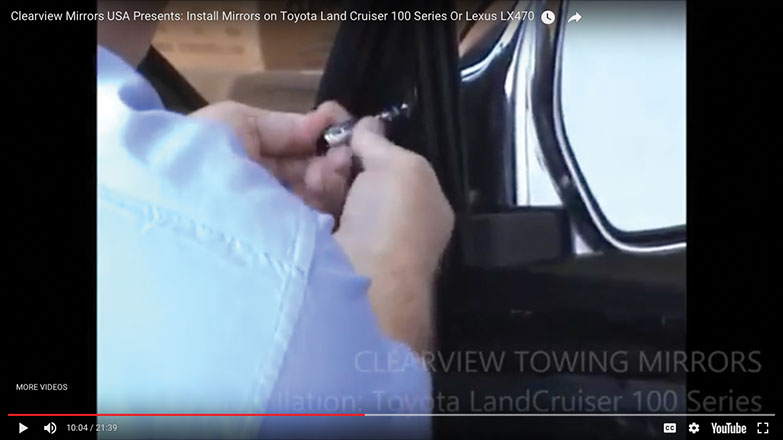
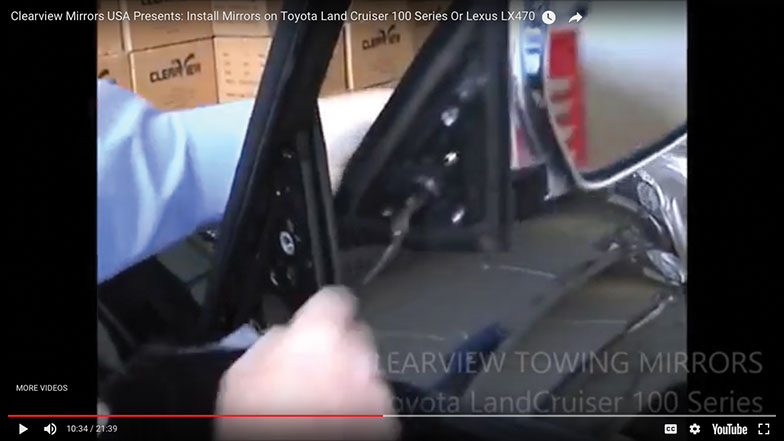
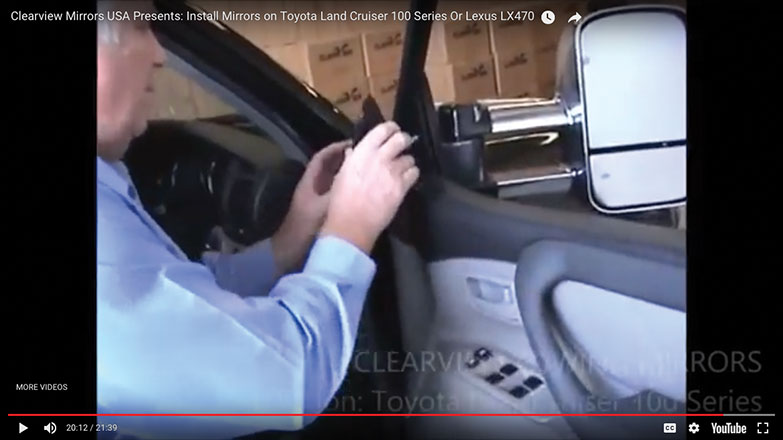
33. Grab your new Clearview Towing Mirror and insert, snaking the wiring through.
#33
34. Seat the mirror firmly and start the top bolt, then the bottom 2 bolts.
#34
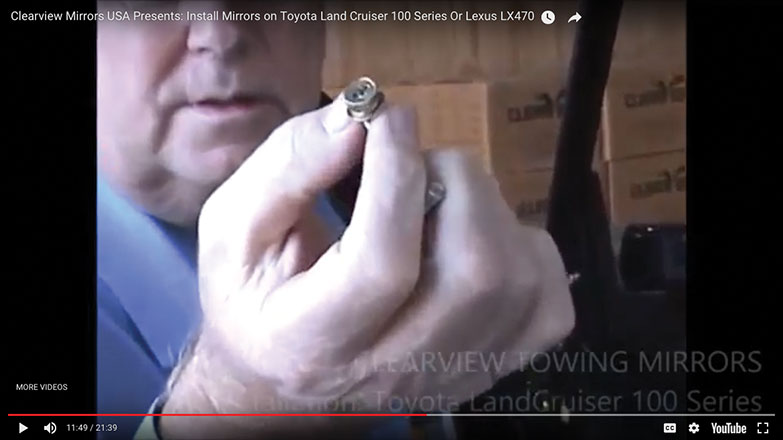
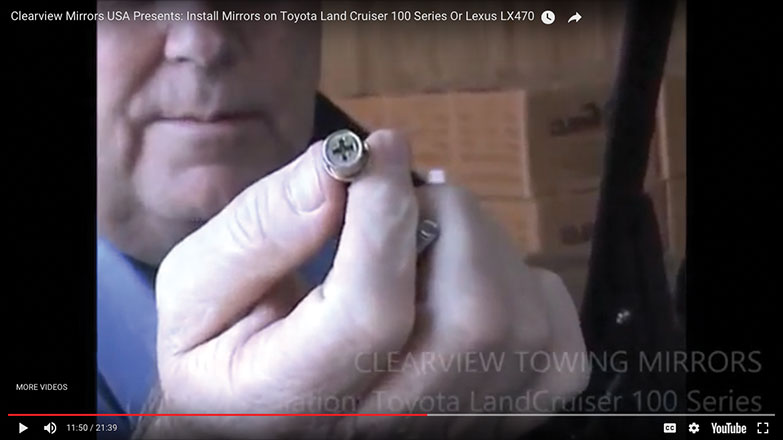
35. The new bolts that come with your New Clearview Towing Mirrors is both Philips Head...
#35
36. And Hex head at 10mm. Also there is a flat washer and a spring washer on these new bolts for extra secure hold.
#36
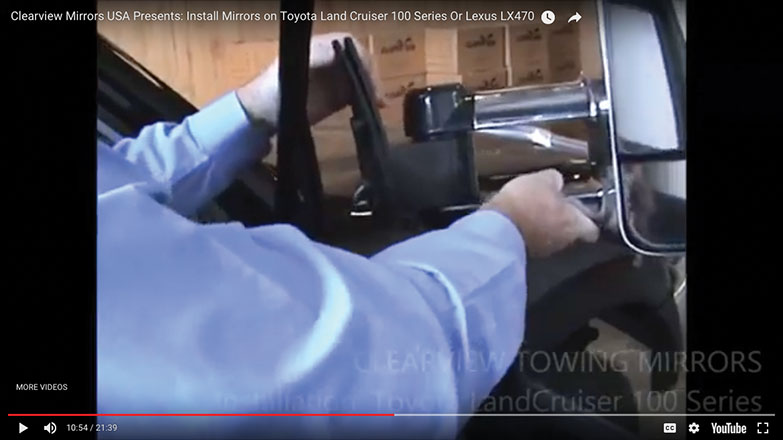
37. Run the bolts in lightly at first...
#37
38. Then, snug them up good.
#38
39. Reconnect the wiring and plug.
#39
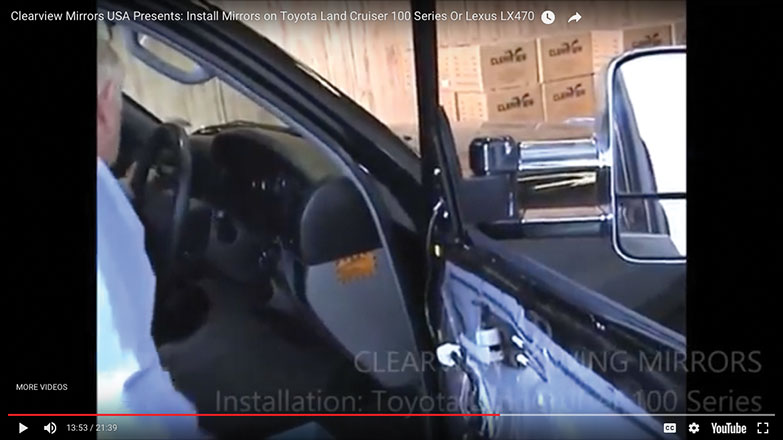
40. Turn on the ignition and test the functions of the mirror now, before you start to reassemble the door panel.
#40
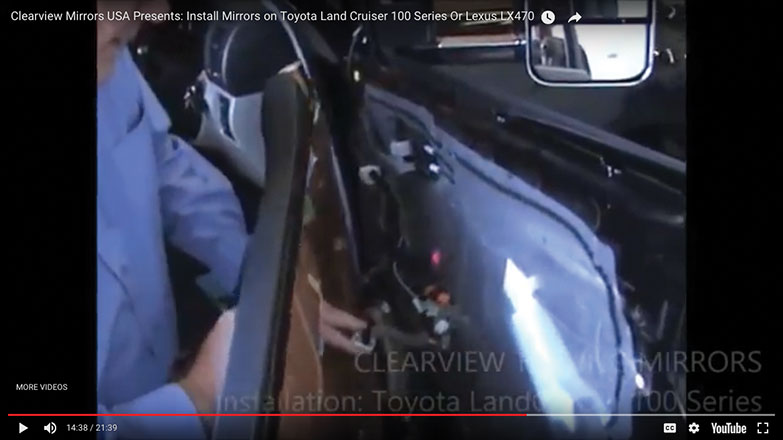
41. Now that the new Clearview Towing Mirror is installed and connected, it is time to re-install the door panel. Grab the electrics through the door handle opening.
#41
42. Seat the door panel in starting by the mirror first and into the window track.

#42
43. Then give the door panel a good tap down.
#43
44. Now to replace the plastic caps. Push the button out on the plastic clip to install.
#44
45. Pop 3 plastic caps back in on the sides of the door panel, one on the left side and two cap on the right side.
#45
46. Re-attach the screws to the left side of the door panel, top...
#46
47. Then just below.

#47
48. Replace the plastic covers.
#48
49. Reinsert the four screws at the bottom of the door panel.
#49
50. Replace screw behind door electrics.
#50
51. Plug in the door panel electrical controls.
#51
52. Reinsert the door panel electrical controls, starting with the slot at the right side...
#52
53. And popping the electrics with a good tap down.
#53
54. Replace plastic door handle trim.
#54
55. Re-screw the screw behind the door handle trim.
#55
56. Snap on the plastic trim cover on the door handle.
#56
57. Replace plastic mirror trim cover.
#57
58. Repeat process on opposite side. Done!

#58
Atlantic British Ltd.
M-F, 8am-6pm Eastern
East Coast - Map
6 Enterprise Avenue
Clifton Park, NY 12065 - USA
ClearviewMirrorsUSA.com Is a Division of Atlantic British Ltd.
